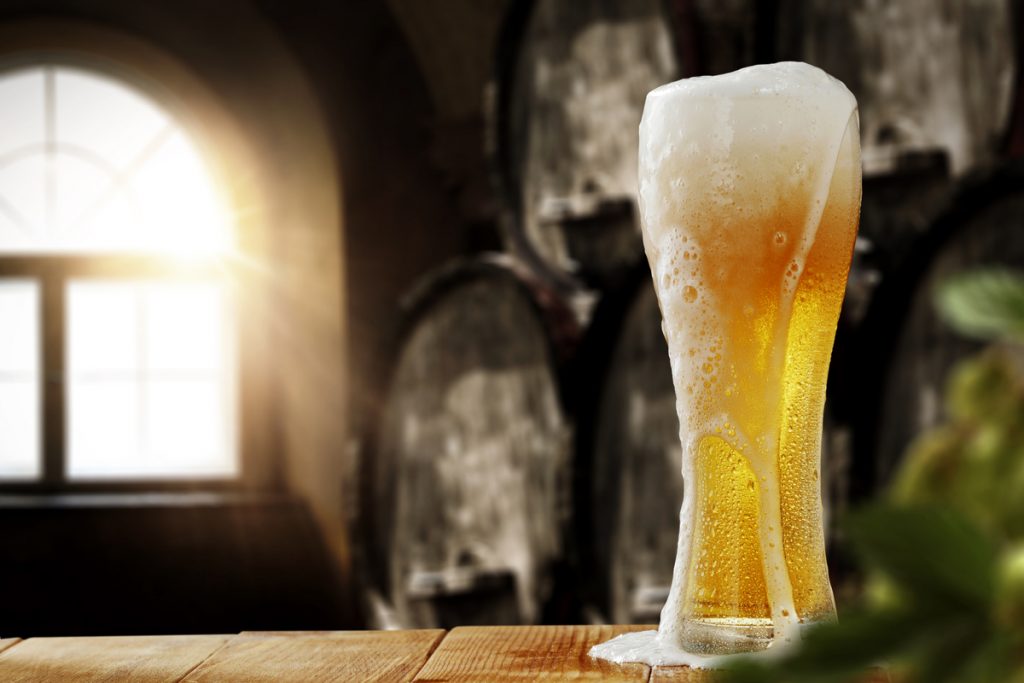
Can You Brew Beer in an Aluminum Pot? (If Yes, How To?)
Brewing beer dates as far back as 4,000 B.C. in the early colonies of Mesopotamia, and the formula has evolved and been varied over the many years since. Thankfully for us, the methods and instructions have become quite a bit clearer since the dawn of civilization.
Perhaps you have decided you wanna throw your hat into the millennia-old art of brewing and are wondering if that 5-gallon aluminum pot will serve to help you start?
Can you brew beer in an aluminum pot?
Without question, you are more than able to brew a very refreshing homemade beer with an aluminum pot. When it comes to brewing kettles for beer, people tend to go with either aluminum or stainless steel (which I will go into further below). In this quick, informative article, you will learn why aluminum is so beloved for brewing and every step you need to take to start sipping on your own personal collection of beverages.
Table of Contents
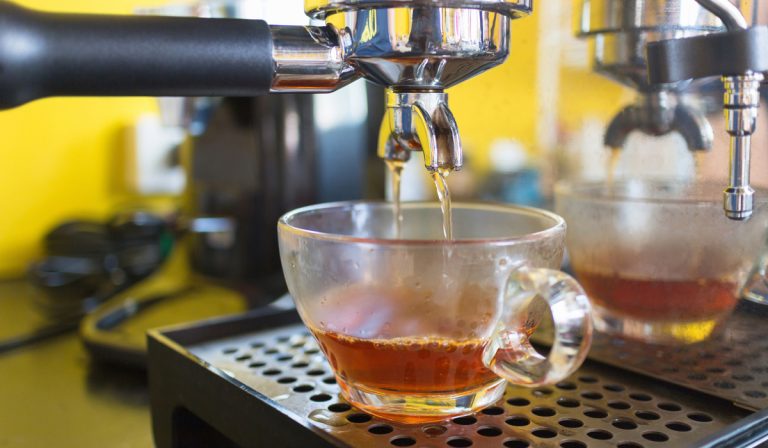
Aluminum vs. Stainless Steel
This is a more popular discussion for most homebrewing enthusiasts. While getting started in brewing is a simple enough thing to do, perfecting and refining the taste of your beer can take many hours across several years. So naturally, the more passionate brewers have a very specific and selective eye for what they put their beer into.
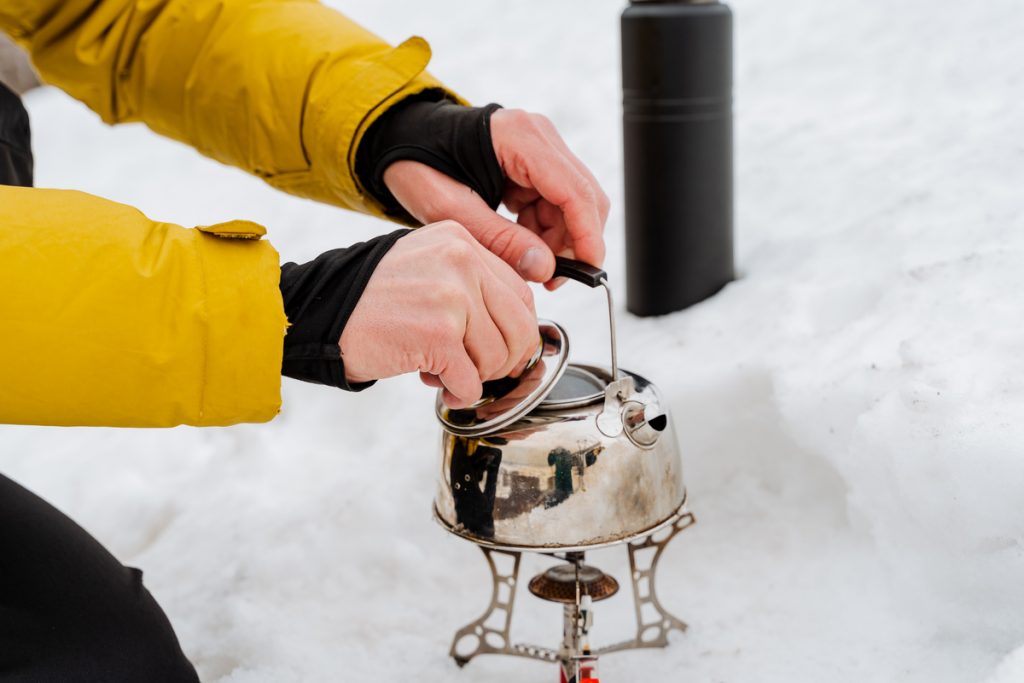
Aluminum
Now when it comes to the overall price range you are going to be looking at when buying a brew kettle, aluminum is almost always going to be cheaper than the much more pricey stainless steel alternative. For the frugal brewer, you can make a good quality batch at a much more reasonable price by going with aluminum.
Pros
- Much more affordable than the alternative
- Heats up more quickly, making for a quicker heating and cooling process with less chance of burn.
- Far lighter than stainless steel, which can be quite cumbersome.
Cons
- Aluminum will oxidize much more quickly than stainless steel, so you have to find cleaning products that do not have an oxygen base (This is a majority of cleaning products)
- If your aluminum pot is on the thinner side, it will dent and disfigure much more quickly
- It is highly recommended (and almost necessary) to boil water for half an hour to create an oxide layer in the pot to protect it from corrosion
There is a popular theory that using aluminum pots and pans can contribute to Alzheimer’s. This is largely considered false as several studies have found no correlation between aluminum and Alzheimer’s disease.
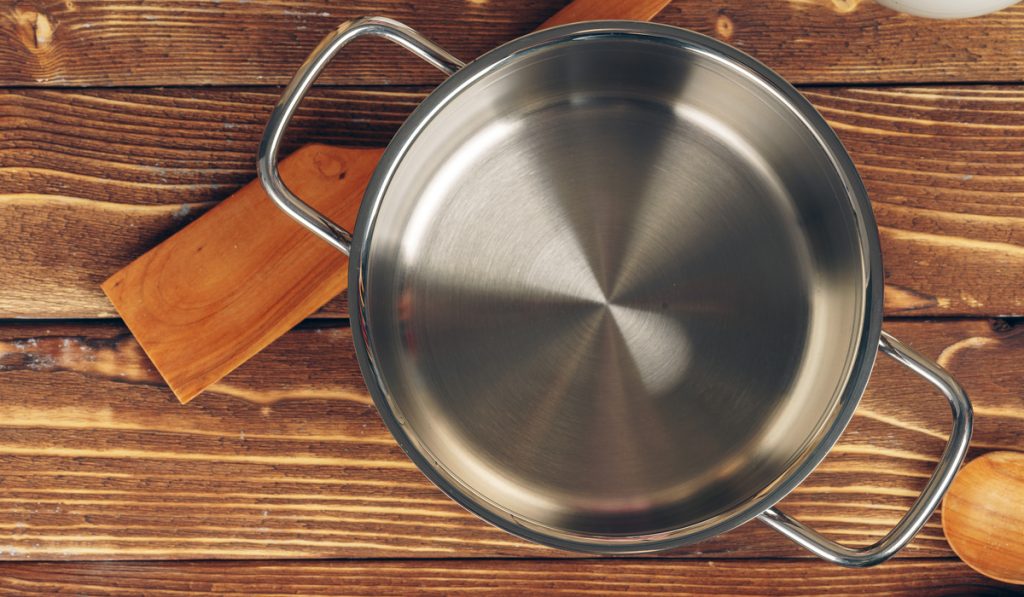
Stainless Steel
Stainless steel is the premier way to brew beer and is widely considered to be of higher quality than aluminum, which is reflected in the price. While it is typically far more expensive (especially the larger in size it is), avid brewers praise it for its ability to withstand oxygen-based cleaners and its more visually appealing, cleaner surface.
Pros
- The ability to use oxygen-based cleaners makes it much simpler to sanitize it before and after use
- It is much less likely to corrode, warp or dent over time, unlike its cheaper alternative
- Widely considered the best for cooking wort
Cons
- Does not heat up or cool off as efficiently as aluminum
- The initial cost is higher than aluminum
- Can be quite a bit heavier than aluminum
The majority of professional breweries stick to stainless steel steam kettles as opposed to aluminum due to the simplicity of cleaning and the better result from cooking worts.
Step-By-Step Guide to Brewing in Aluminum
So, now you are convinced that you want to try out that aluminum kettle in your very own batch of beverages but don’t know where to start. Rest assured, we will get you well on your way to making beer so good that Mesopotamians will rise from the grave to get a sip.
To start, you will need about two to three hours of free time, four weeks of patience, and a few tools to help get you on your way. Make sure you have the following:
- Aluminum Brew Kettle
- Fermenter
- Air Lock
- Long Metal Spoon
- Sanitizer
- Auto Siphon
- Beer Recipe Kit (You can also buy the ingredients individually, though if you are just starting, it may be easier to purchase a kit.)
- Bottles, Bottling Bucket, Bottle Filler, Bottle Capper, Caps, Etc.
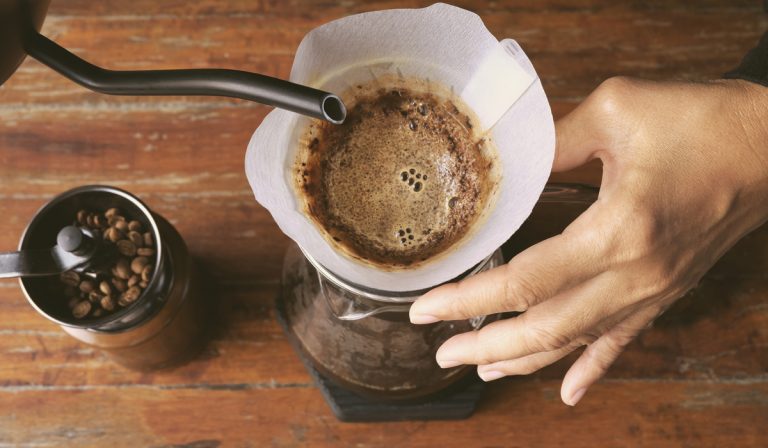
Once you have everything set out, make sure everything is properly cleaned and sanitized as germs or residual gunk from any previous use will negatively affect the taste of the beer.
Because we are using an aluminum kettle you will want to boil water for 30 minutes in it to provide a protective oxide layer.
Oh, and fill one side of your sink with very cold ice water. That will be important later.
Once that is finished, we can start the brewing process!
- However many gallons your kettle is, fill it by half with cool water. For the sake of this instructional guide, I will be assuming you are using a 5-gallon kettle.
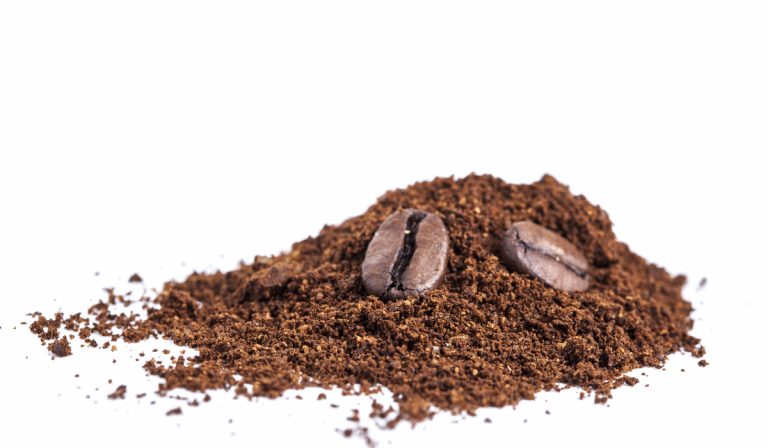
- As the water heats, begin to steep your grains of choice into the water for about fifteen to twenty minutes, or until the water reaches a toasty 170 degrees Fahrenheit. Don’t try to wring out the grains as that can cause tannins to infect the beer, leaving a bitter, unpleasant taste (think overcooked tea, it is the same situation).
- Once the kettle begins to boil aggressively, take it off the active stovetop and begin to integrate your malt extract into the pot.
- Add a sprinkling of hops intermittently as needed (Adding too many at once can cause your kettle to overflow, which is going to be a nightmare).
- Once this process is finished you will have successfully made brewers call wort. It’s essentially the result of all the steps you have taken so far. You will need this to chill very quickly.
- Using the side of your sink with ice water in it, set your pot into the ice water without letting the water into the inside of the pot. You can also buy a wort chiller later if you find this process too tedious.
- Once your wort has chilled off, you can pour it into your fermenter.
- Fill the fermenter with enough water that it measures out to 5 gallons (or however much your kettle was).
- The wort will need to breathe inside this new vessel, so make sure you mix and splash it around to allow oxygen in.
- You can now incorporate yeast into the fermenter. Try to pour it slowly until the package is empty.
- You can now clasp on your airlock and find a shady, cool place to store it. This should be as close to 68 degrees as you can manage and the darker, the better.
- Enjoy the following two weeks, as the fermentation process takes its time to finish up.
- Get a bottling bucket, and then boil your priming sugar in cups of water. Once this is cooled, pour it into your bottling bucket.
- Begin to suction your beer into the bottling bucket. (Try to avoid getting sediment in your bucket as best you can. Leave that in the fermenter).
- Combine your hose and bottle filler, and then connect that to the spigot on your bottling bucket.
- Make sure your filler is touching the floor of the bottle, then flip up the bottling bucket nozzle.
- Fill your bottles one by one. (The filler should leave the ideal amount of space between the liquid surface and the spout of the bottle).
- Start covering your bottles with caps.
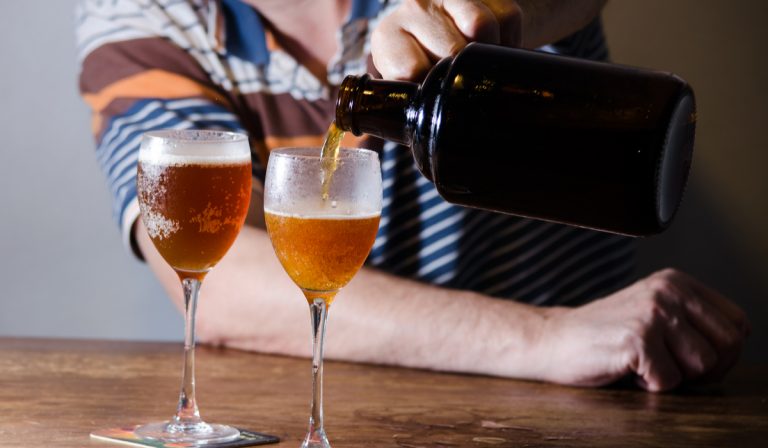
- Now place your freshly bottled beer in a room temperature location and let them carbonate for two weeks.
- Once two weeks have come and gone, you can throw them in the fridge (or drink them warm, we don’t judge) and enjoy the fruits of your labor!
Not much more to it than that, happy and safe brewing!