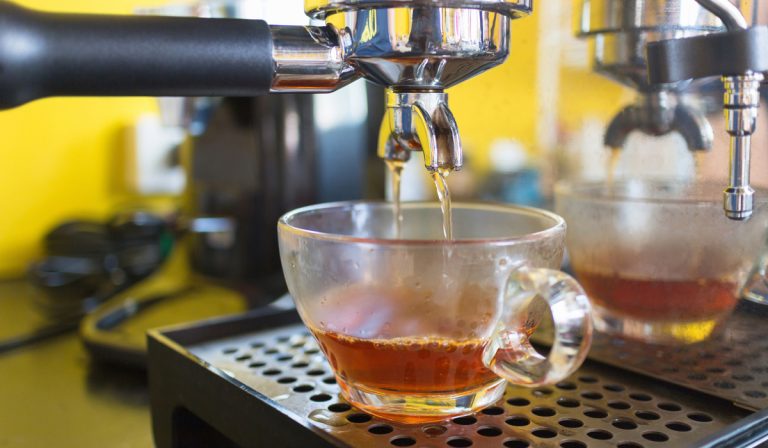
Can You Brew Beer in an Apartment? (5 Important Things To Know!)
Do you love to drink beer? Beer makes a lot of people happy. Have you ever thought about brewing beer yourself?
You may be discouraged from trying to brew beer because you live in an apartment.
Can you brew beer in an apartment?
You can brew beer in an apartment. Brewing beer yourself is a fun project because you get to convert raw ingredients into a marvelous drink you enjoy.
Continue reading to learn the benefits of brewing your own beer and how you can brew beer in an apartment.

Table of Contents
Why You Should Brew Your Own Beer
Here are some reasons why you should consider brewing beer yourself, whether you live in an apartment or not:
- You Do Not Need to Buy Everything that You Consume: Many people are 100% consumers and do not want to produce what they consume. Well, you should try producing some items that you consume.
- It Is Cheap: Buying the grains and everything you need for brewing beer is more cost-effective than constantly buying beer from the market.
- It Is a Fun Fermentation Project: Fermentation is a cool biology project to see fungi and other microbes in action.
- You Can Try Different Grain Mixtures: Most store-bought beers use a conventional grain mixture in their drinks. If you are tired of conventional beer, you can try different grain mixtures and find out how they taste.
- You Did It Yourself: Well, you have the joy of producing what you consume yourself. You can even share your product with others.
You surely want to produce beer yourself, right? Time to learn how.
How to Brew Beer in Your Apartment
Follow the steps below to brew beer in your apartment:
1. Gather Everything That You Need
Before brewing your beer, the first thing to do is ensure you have everything you need. Gather the following:
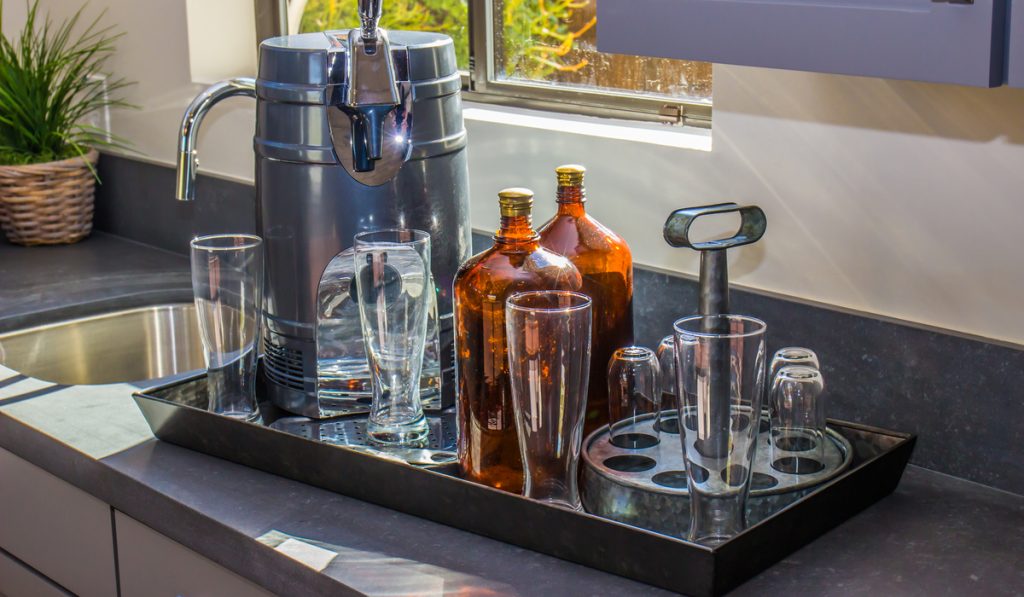
- Beer Recipe Kit (For the first time you make it. Afterward, you can try different grain mixtures.)
- Brewing Kettle
- Fermenter and Air Lock
- Funnel (optional)
- Stir Spoon
- Auto-Siphon
- Sanitizer
If you do not know where and how to get everything you need, you can buy a beer-making kit from online stores (example).
2. Sterilize Your Brewing Kit
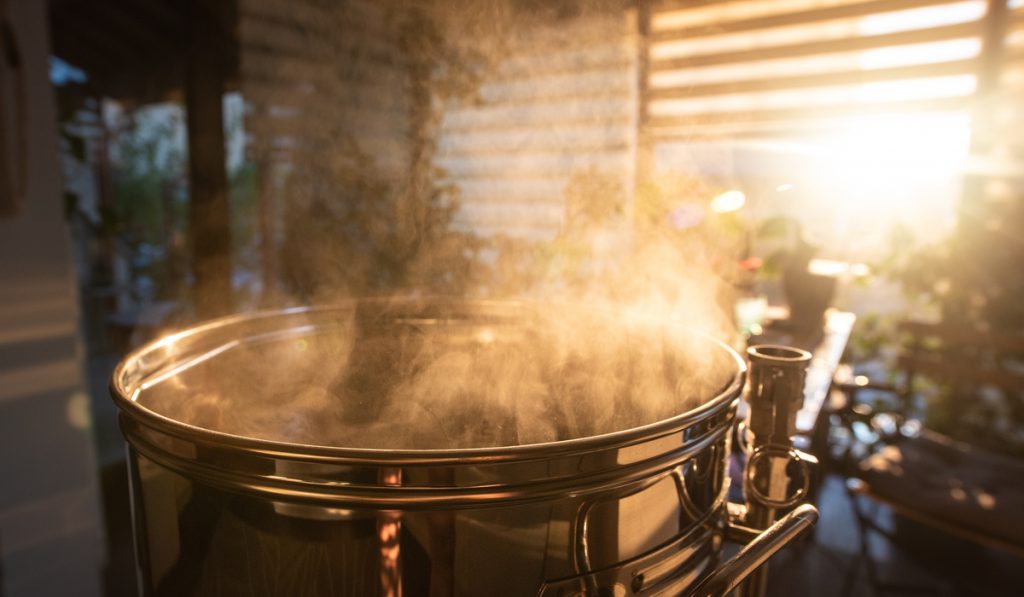
A secret to brewing and fermenting beer is sterilization. If you do not adequately clean your equipment, bacteria and other microbes can spoil the entire process for you.
You should not clean the equipment because you want to. Clean the equipment because you must; the entire fermentation process relies on clean equipment.
3. Start Brewing
If you have gathered everything you need and successfully sterilized it, it is time to brew your beer. Follow the steps below:
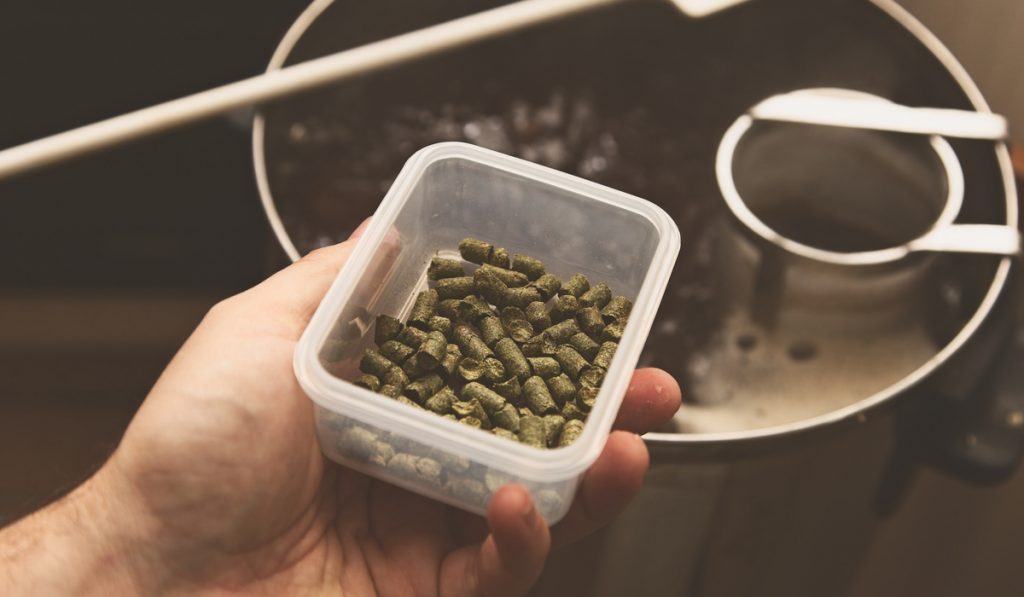
- Steep Your Grains: Fill your brewing kettle with 2.5 gallons of water. When the water has reached 170°F, dip your grain bag (filled with grains) into the kettle and let them steep for about 20 minutes. After 20 minutes, carefully remove the grain bag and allow the water to drip away from the bag. Do not press the bag so it won’t spoil the taste of your beer.
- Boil the Water: Boil the water. After boiling, turn off your stove and then add malt extracts. When the extracts have fully dissolved in the water, boil the water again.
- Quickly Cool Your Wort: You have successfully made your wort or sugar water. You need to cool it as quickly as possible for the most desirable taste and appearance. You can do so by sinking the kettle in a sink filled with ice or using a wort chiller.
You have brewed your beer, but the process is not over. Continue reading.
4. Start Fermenting
Beer is not complete without fermentation. Before fermenting, remember that you need sterilized equipment. Here are the steps to ferment beer:
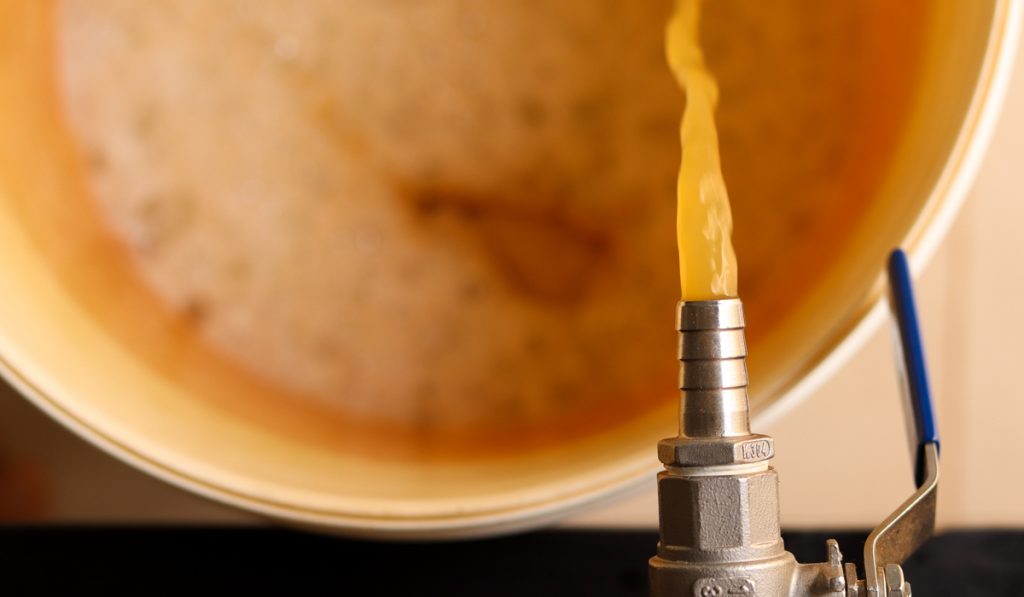
- Add the Wort to the Fermenter: Carefully pour the wort into the fermenter to reduce spillage.
- Add Water: You initially used 2.5 gallons. Fill the fermenter to about 5 gallons. This means that you usually double the volume of wort.
- Carefully Shake Your Fermenter: Yeast is a type of fungi, and fungi need oxygen to reproduce. Shaking the fermenter can help aerate the wort.
- Add Yeast: Yeast helps to ferment beer. It would be best if you bought dry yeast from a store as it is already prepared for you.
- Seal the Fermenter: You need to seal the fermenter so that it is airtight.
- Keep the Fermenter in a Cool Place: Keep it where it will not be disturbed, does not have direct sunlight, and the temperature is stable (around 68°F).
- Wait Until It Is Ready: It should take up to two weeks until your beer is properly fermented.
You have successfully fermented your beer. It is time for the last step.
5. Bottling Your Fermented Beer
Remember to sterilize the bottles. Follow the steps below to bottle your fermented beer:
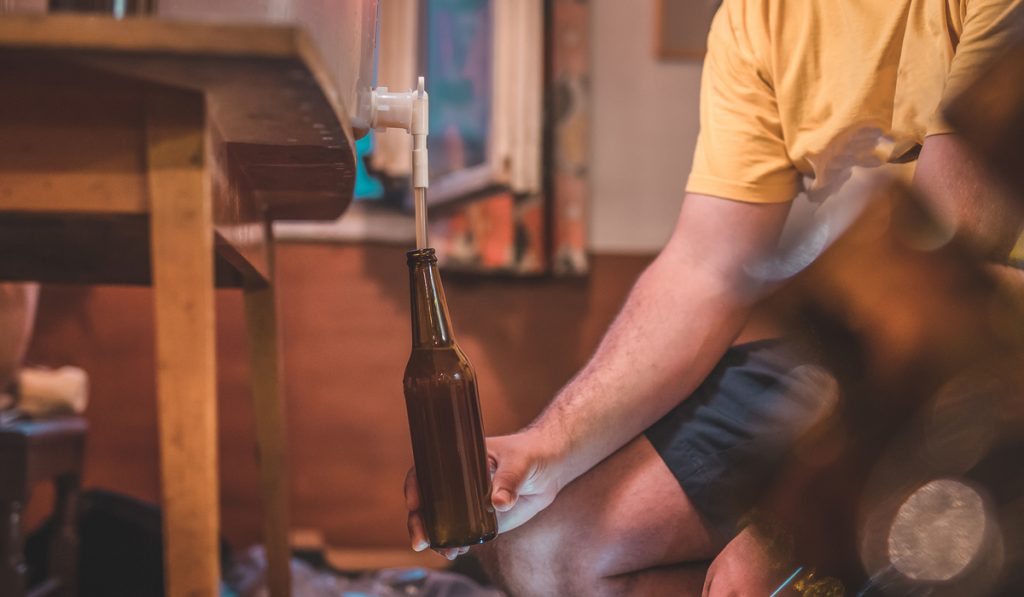
- Boil the Priming Sugar: You should boil it in 16 ounces of water and then pour it into your bottling bucket.
- Transfer Your Beer: You should use a siphon to transfer the fermented beer into the bottling bucket. Do not transfer the sediments.
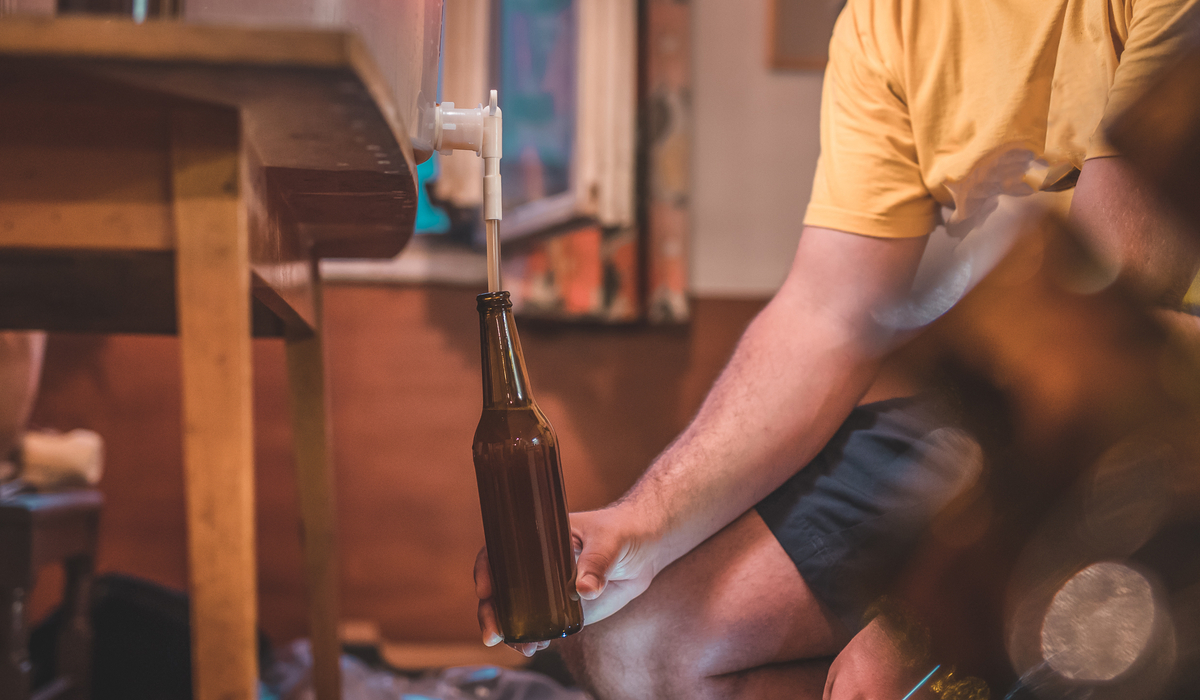
- Fill Your Bottles: First, attach the bottle filler to a hose and then attach the hose to a bottling bucket spigot. Open the bucket spigot and fill your bottles to the top. When you remove the bottle filler, there will be space at the top of the bottle.
- Seal Your Bottles: Use a bottle capping device.
- Store the Bottles: You should keep them in the room for two weeks. They should carbonate in that period.
Congratulations! You just brewed beer in your apartment.
Some Challenges to Brewing Beer in Your Apartment
Here are some problems that you might face:
1. Stoves
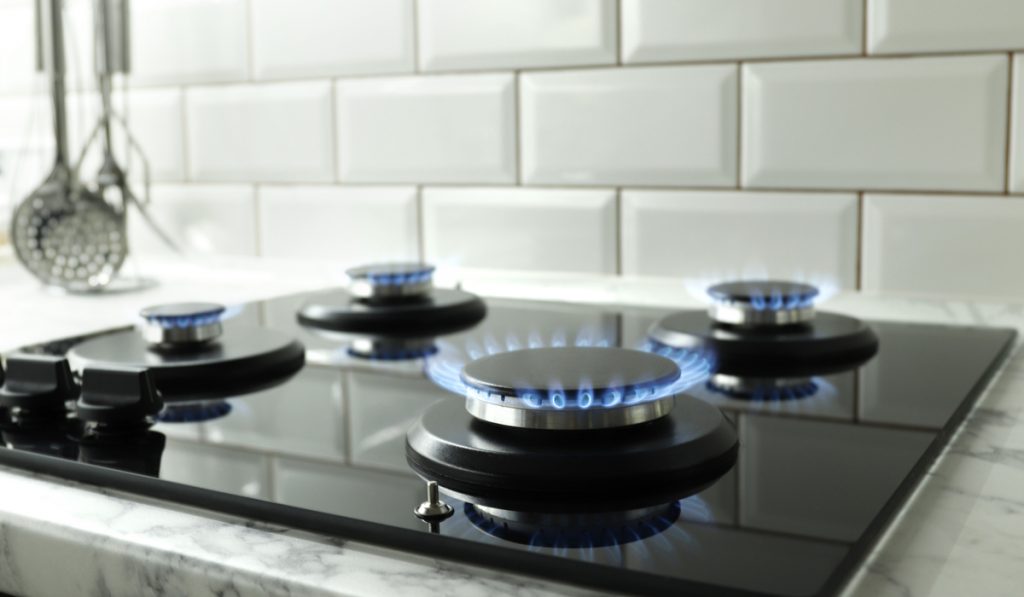
Most houses have electric stoves, but many brewers prefer gas stoves. Brewers prefer gas stoves as they are easier to control when brewing beer.
Don’t worry; this is not so much of a problem as you can use an electric stove.
2. Space
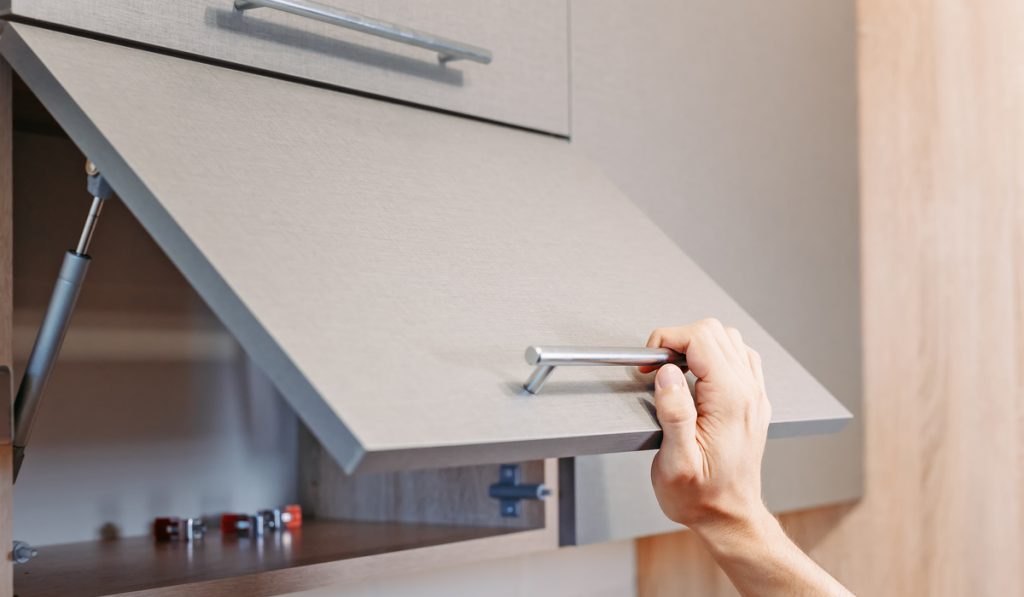
Many apartments do not have extra space for brewing beer. You might have to brew your beer in a closed cupboard in your kitchen.
3. Disturbance
You should not disturb your fermenting beer. Children and pets can disrupt the fermenting beer by exposing it to light, altering the temperature, and so on. Try to keep the fermenter out of reach of pets and children.
Continue reading to learn some valuable tips for brewing beer in an apartment.
Useful Tips for Brewing in an Apartment
Here are some useful tips for you:
1. Keep Your Brewing Area Clean
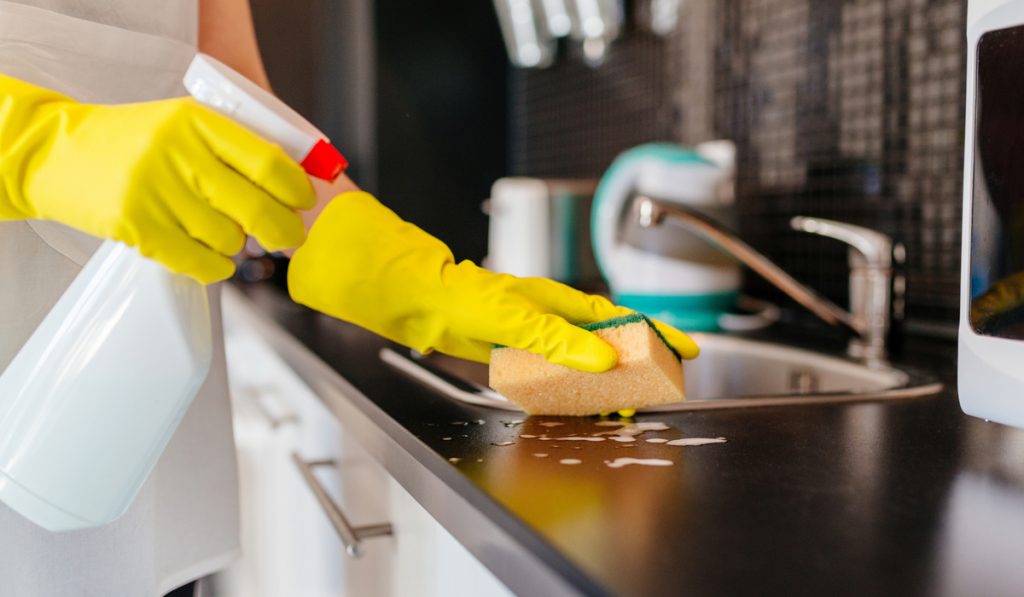
The cleanliness of your brewing area and kit cannot be overemphasized.
Please do not keep your fermenters in dirt-prone areas. Also, sterilize your kit after each use.
A clean brewing area also allows you to move with ease.
2. Brew in a Cool Place with a Stable Temperature
The temperature of the fermenting room should be in the range of 60°F-70°F. The optimum fermentation temperature for beer is 68°F.
Note that the temperature should be consistent, as microbes such as yeast grow by adapting to specific environmental conditions.
3. Keep Your Fermenting Beer Away from Direct Sunlight
Direct sunlight can affect the process of fermentation in two ways:
- Growth of Algae and Other Microbes: Algae needs sunlight to grow. Keeping the fermenter where there is sunlight can encourage the growth of algae. Algae can attract other microbes. Even though you sanitized your equipment, you can never be too sure.
- Temperature Fluctuation: Sunlight increases the temperature during the day and reduces it at night. This means that the temperature of the room is no longer consistent. You should be mindful of the room temperature.
Make sure that you do not expose your fermenters to direct sunlight.
4. Brew According to the Season
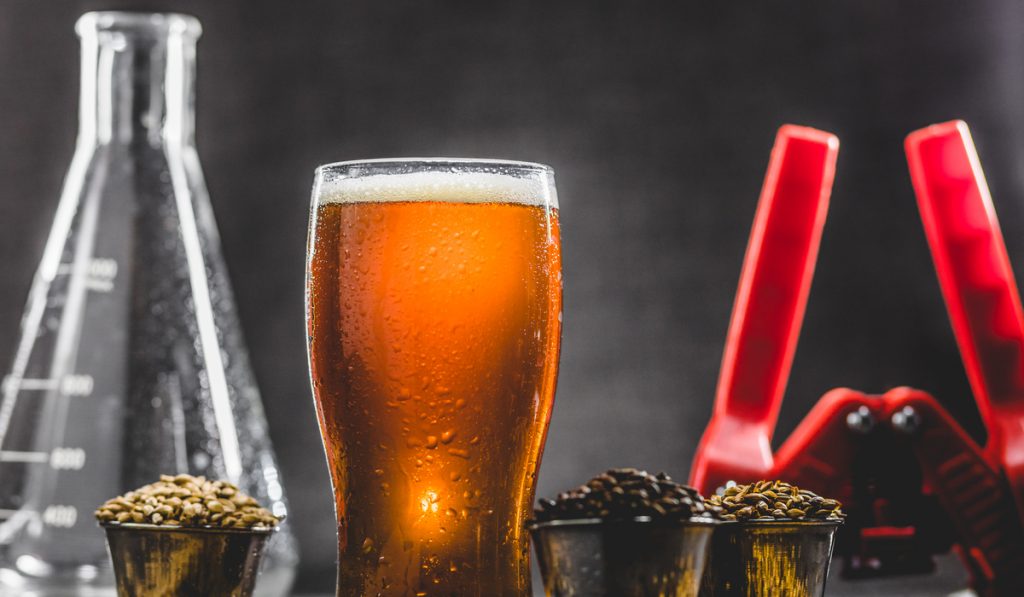
The taste and appearance of your beer can change slightly because of the season. This is because the different seasons have different stable temperatures.
This means that you have to ferment your beer in less than two weeks or more than two weeks, according to the season. If you have an air conditioner or heater in your home, it can give you a more consistent temperature than relying on the atmospheric temperature.
5. Brew Your Beer in Batches
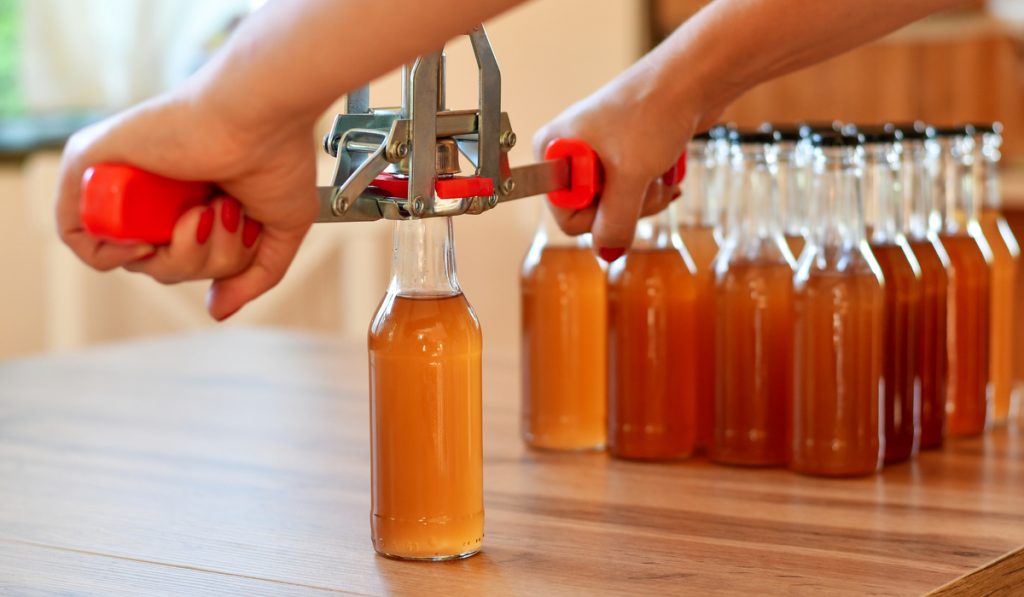
One disadvantage of brewing beer in an apartment is that there is not enough space. To help you brew your beer, you can brew it in batches.
You must not brew everything at once. You can brew in batches by starting a new batch when you store the fermented beer in a bottle for two weeks.
Do you agree that brewing beer in an apartment is easy? You could possibly produce the tastiest beer ever.
Final Thoughts
It is entirely possible to brew beer in an apartment. All you need to brew beer in your apartment is to buy all the equipment and grains in a kit, carefully sterilize everything, and keep the fermenter in a cool room with a stable temperature, out of direct sunlight.
Resources
- https://mrsmallbatchbrewer.com/how-to-brew-beer-in-an-apartment/
- https://homebrewingbasics.com/15-tips-for-homebrewing-in-an-apartment/
- https://www.northernbrewer.com/blogs/new-to-brewing-start-here/how-to-brew-beer-homebrewing-101
- https://www.homebrewing.org/How-to-Make-Your-Own-Beer_ep_32-1.html
- https://www.kissmybrew.com/brewing-in-apartment/

